
Preparing your markers
Materials needed
- Option 1: Printer, white printer paper & black ink (recommended)
or - Option 2: White paper, a ruler, a black marker & cardboard
or - Option 3: A cellphone or an electronic device that can display images
Option 1: Printing (recommended)
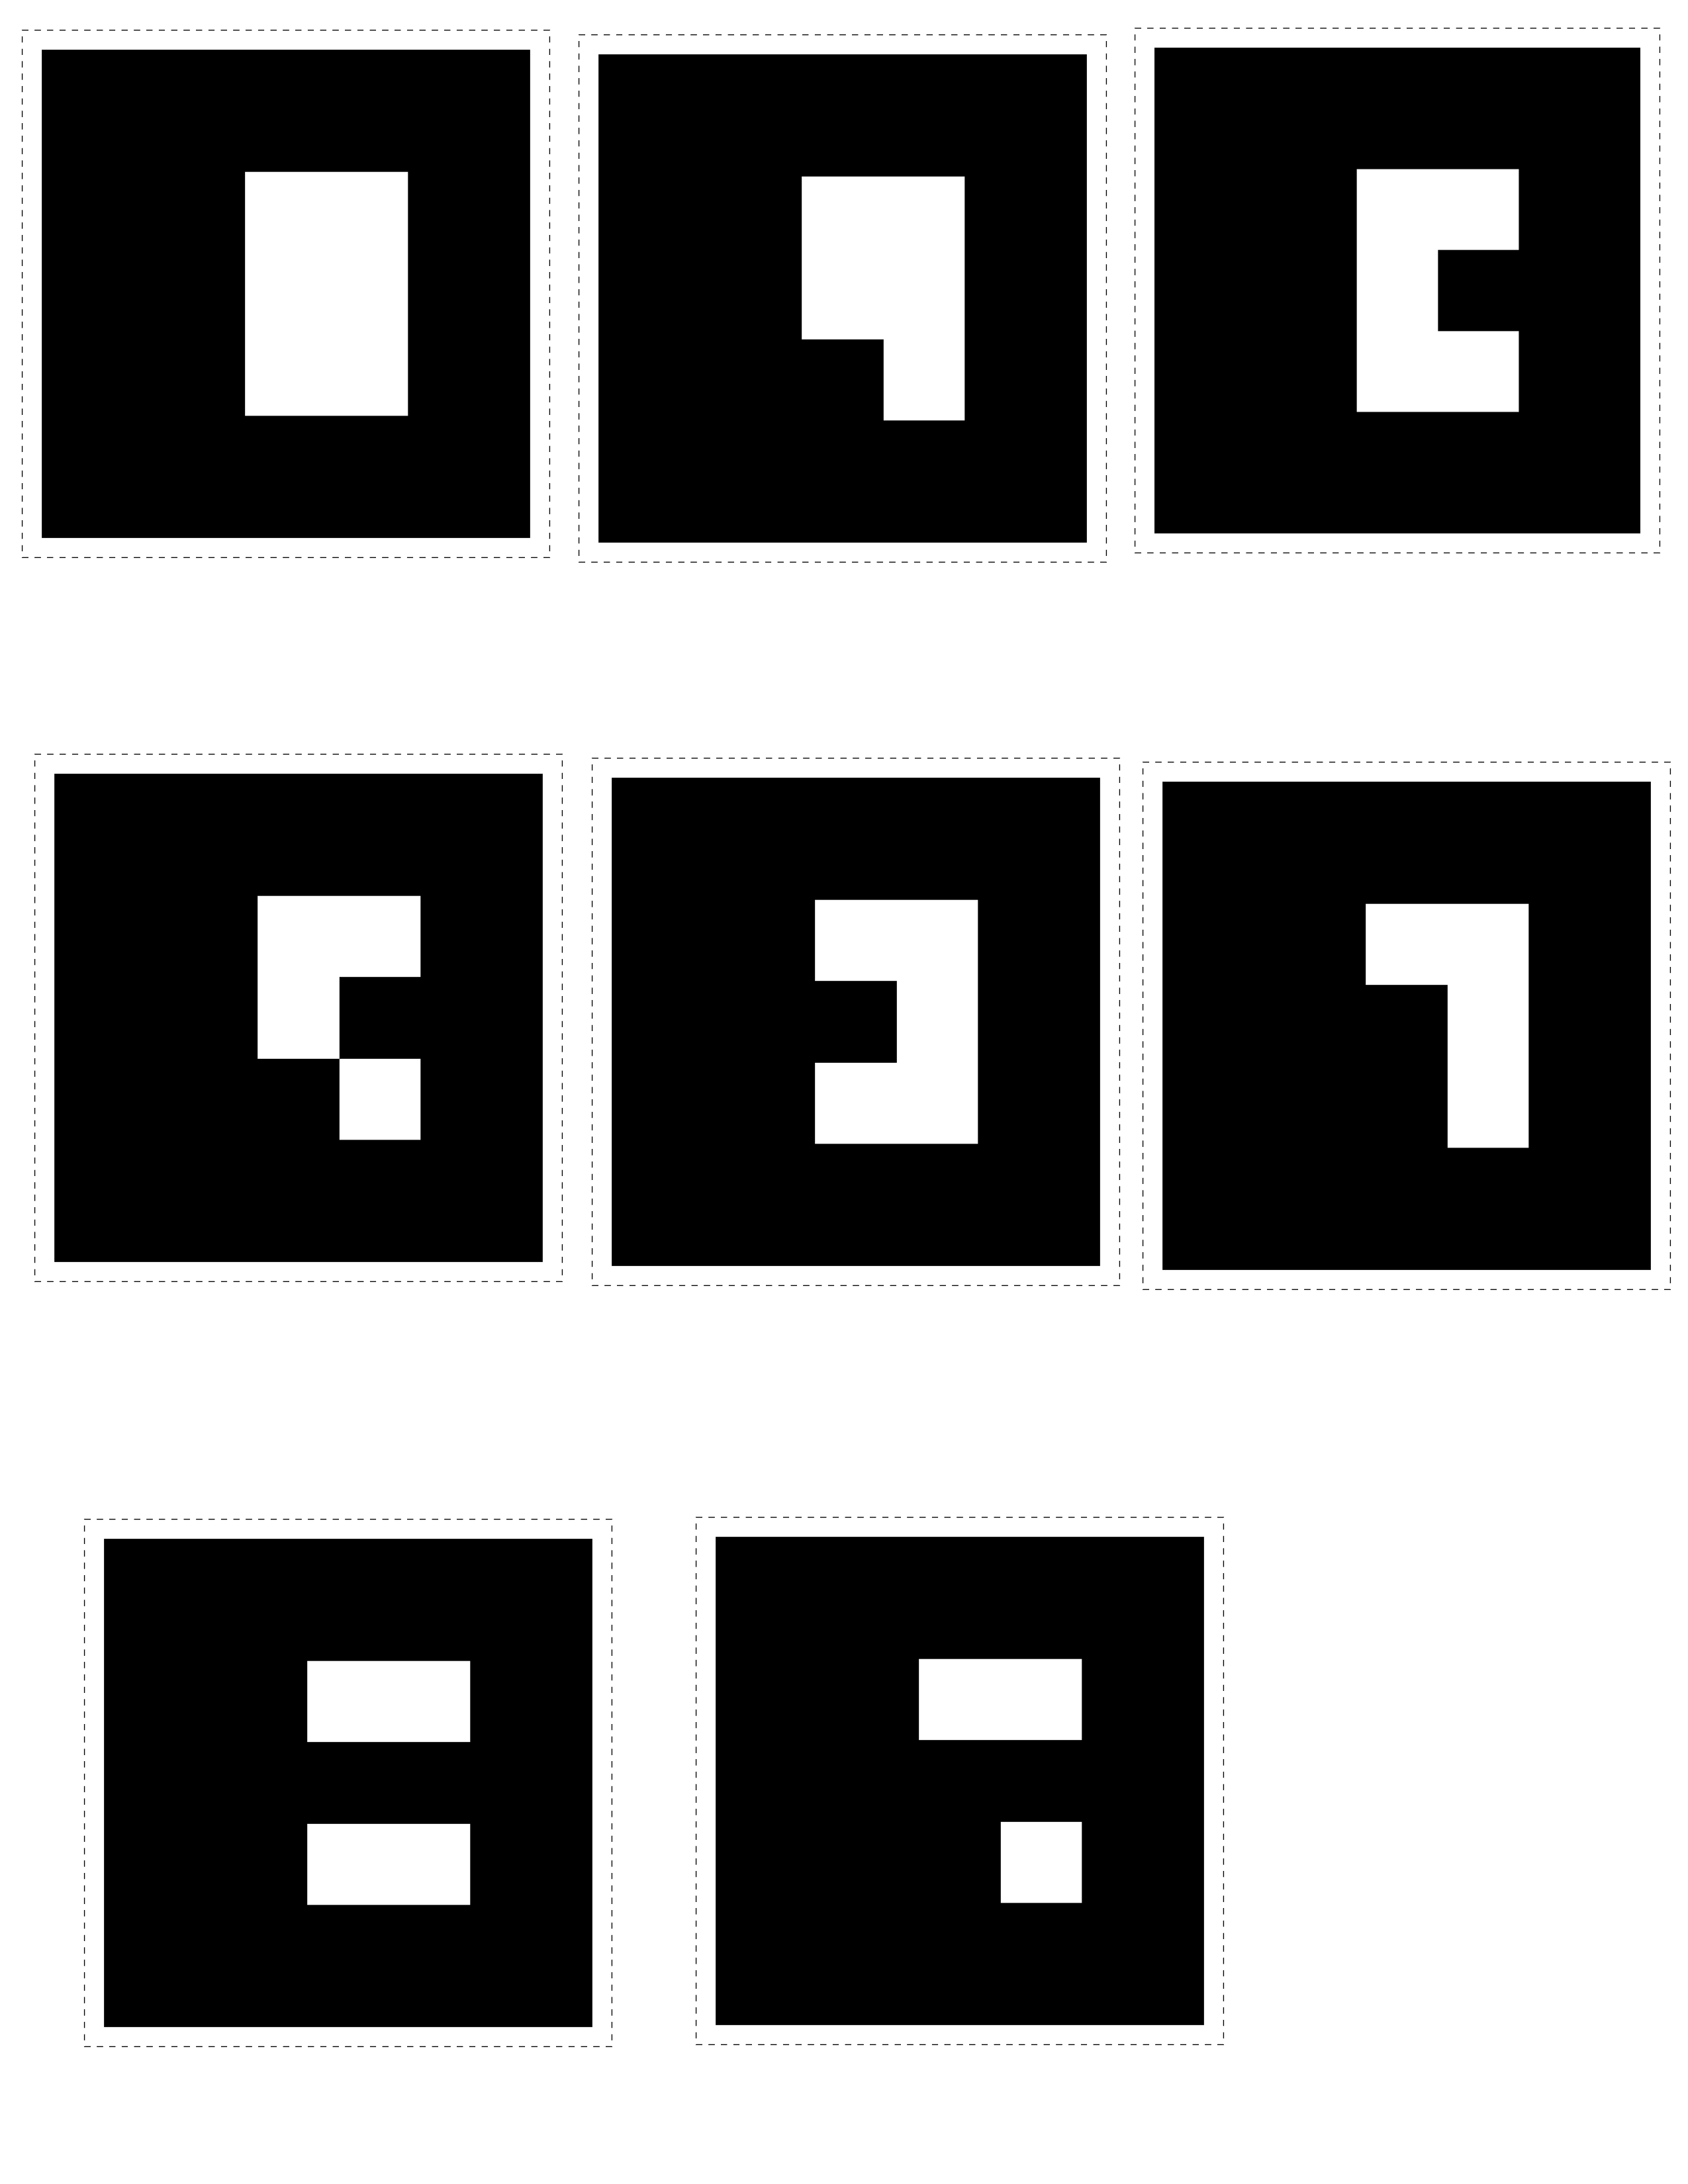
You can download high quality images of barcodes for printing below, feel free to resize them.
Cut on the grey dashed lines so that there is white space left around the edges.
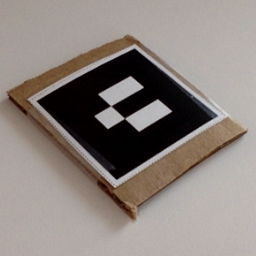
You may want to glue the marker onto a hard, flat surface such as cardboard. If the image is bent or too shiny it may not be detected by the camera.
Option 2: Drawing
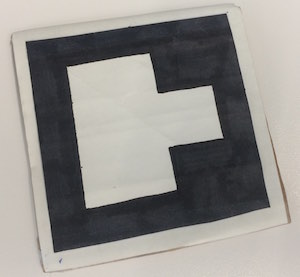
Below is an image of a hand drawn marker. Notice how it is black and white and has a white border around the outside. This helps provide an extra layer of contrast which helps the image recognition software to pick it up. Also, the marker is glued onto a piece of cardboard to help keep it flat and sturdy. If you are drawing I recommend tracing one of the marker images below, you’ll want to be as precise as possible. I suggest using a ruler and pencil to start, then filling in the black areas with a sharpie or some other black utensil.
Option 3: Mobile device
Save the image of your marker onto your mobile phone or other electronic device. Open the image in your photo gallery and use this as your trackable object. Note: the screen’s reflectivity may make your marker undetectable. Try adjusting your brightness settings to achieve the best results.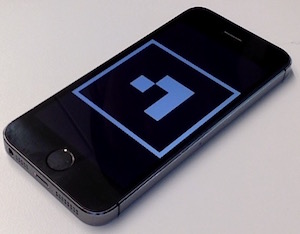
Here are links to some other pages to help you get started!
Printable markers
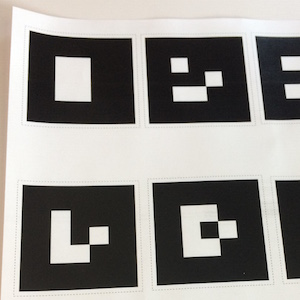
Click on the value of the marker you’d like to use to get a high-quality image. Or, if you’d like to print multiple markers on the same piece of paper you can download the images below. The first image is markers 0-7 and the second is for markers 8-15.
Markers 0-7

Markers 8-15